
 Download WireGuard app
- Open the macOS App Store and find the WireGuard app.
- Click Get/Install to download and install the app.
- Start the WireGuard app from your computer’s Launchpad or Application folder.
- The WireGuard icon will display in your desktop’s top menu bar (no window will automatically open).
Import the configuration file
- Click on the WireGuard icon
 located in your desktop’s top menu bar.
 - In the drop-down menu, select Import tunnel(s) from file…
- Navigate to the folder where you have the VPN configuration files stored and select the configuration file you’d like to import. In the example above we moved this folder to the Documents folder.
- Click Import.
- Click Allow if you get a pop-up saying “‘WireGuard’ would like to Add VPN Configurations.”
Connect
- Click on the WireGuard icon located in your desktop’s top menu bar.
- In the drop-down menu, select the VPN connection that you want to connect to, for example “atlantanoads-25”.
- A checkmark will appear next to it. That’s it!
Disconnect
- Click on the WireGuard icon located in your desktop’s top menu bar.
- In the drop-down menu, click on the server that you’re connected to (the one with a checkmark next to it).
- The checkmark will disappear, signaling that you are disconnected.
Edit A Connection
- Click on the WireGuard icon located in your desktop’s top menu bar.
- In the drop-down menu, click on the Manage Tunnels.
- Click on the Tunnel (VPN Connection) you would like to edit.
- Click the edit button. You will be asked to verify your computer password.
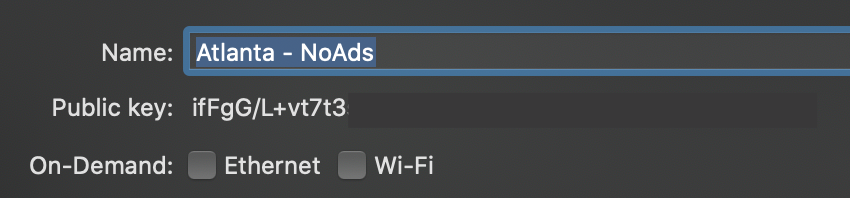
- Make changes to the name of the Tunnel.
On-demand activation
Enable this option if you are experiencing frequent disconnections or if you want to ensure that the VPN service is always active.
- Click on the WireGuard icon located in your desktop’s top menu bar.
- In the drop-down menu, click on the Manage Tunnels.
- Click on the Tunnel (VPN Connection) you would like to edit.
- Click the edit button. You will be asked to verify your computer password.
- Enable Cellular or Wi-Fi or both.
Comments (1)
Isucceed