

 Download WireGuard app
- Download the official WireGuard app for Windows (available in 32- and 64-bit versions) from the WireGuard website.
- Run the installer.
- After WireGuard installs, click the Import tunnel(s) form file button.
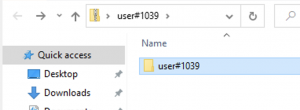
- Navigate to the folder where you have the Algo configuration files stored and select the configuration file you’d like to import.
- Click Open
- Click Activate to connect to the selected VPN connection.
- Click Deactivate to disconnect from the VPN connection.
- That’s it!
Edit A Connection
- Click on the WireGuard icon
 located in your computer.
 - Click on the Tunnel (VPN Connection) you would like to edit.
- Click the edit button.
- Make changes to the name of the Tunnel.
- You can turn on Block untunneled traffic (kill-switch)
Comments (2)
phil
CryptoLab